
Map pins
To help visitors find specific content on your map, create a pin to represent the physical location, then add content to that pin. We recommend that you create one pin for each piece of content.
Compared to including text labels on the image of the map itself, pins make maps more accessible, clear, and adaptable across screen sizes. You can translate pin names, so that visitors can read them in their device language. And, pins allow visitors to tap for more detail.
In This Article
Add map pins to a floor plan
After you add your maps, you can add pins to represent areas in your physical space. For more on adding your maps, see Exterior maps and Floor plans.
Steps
-
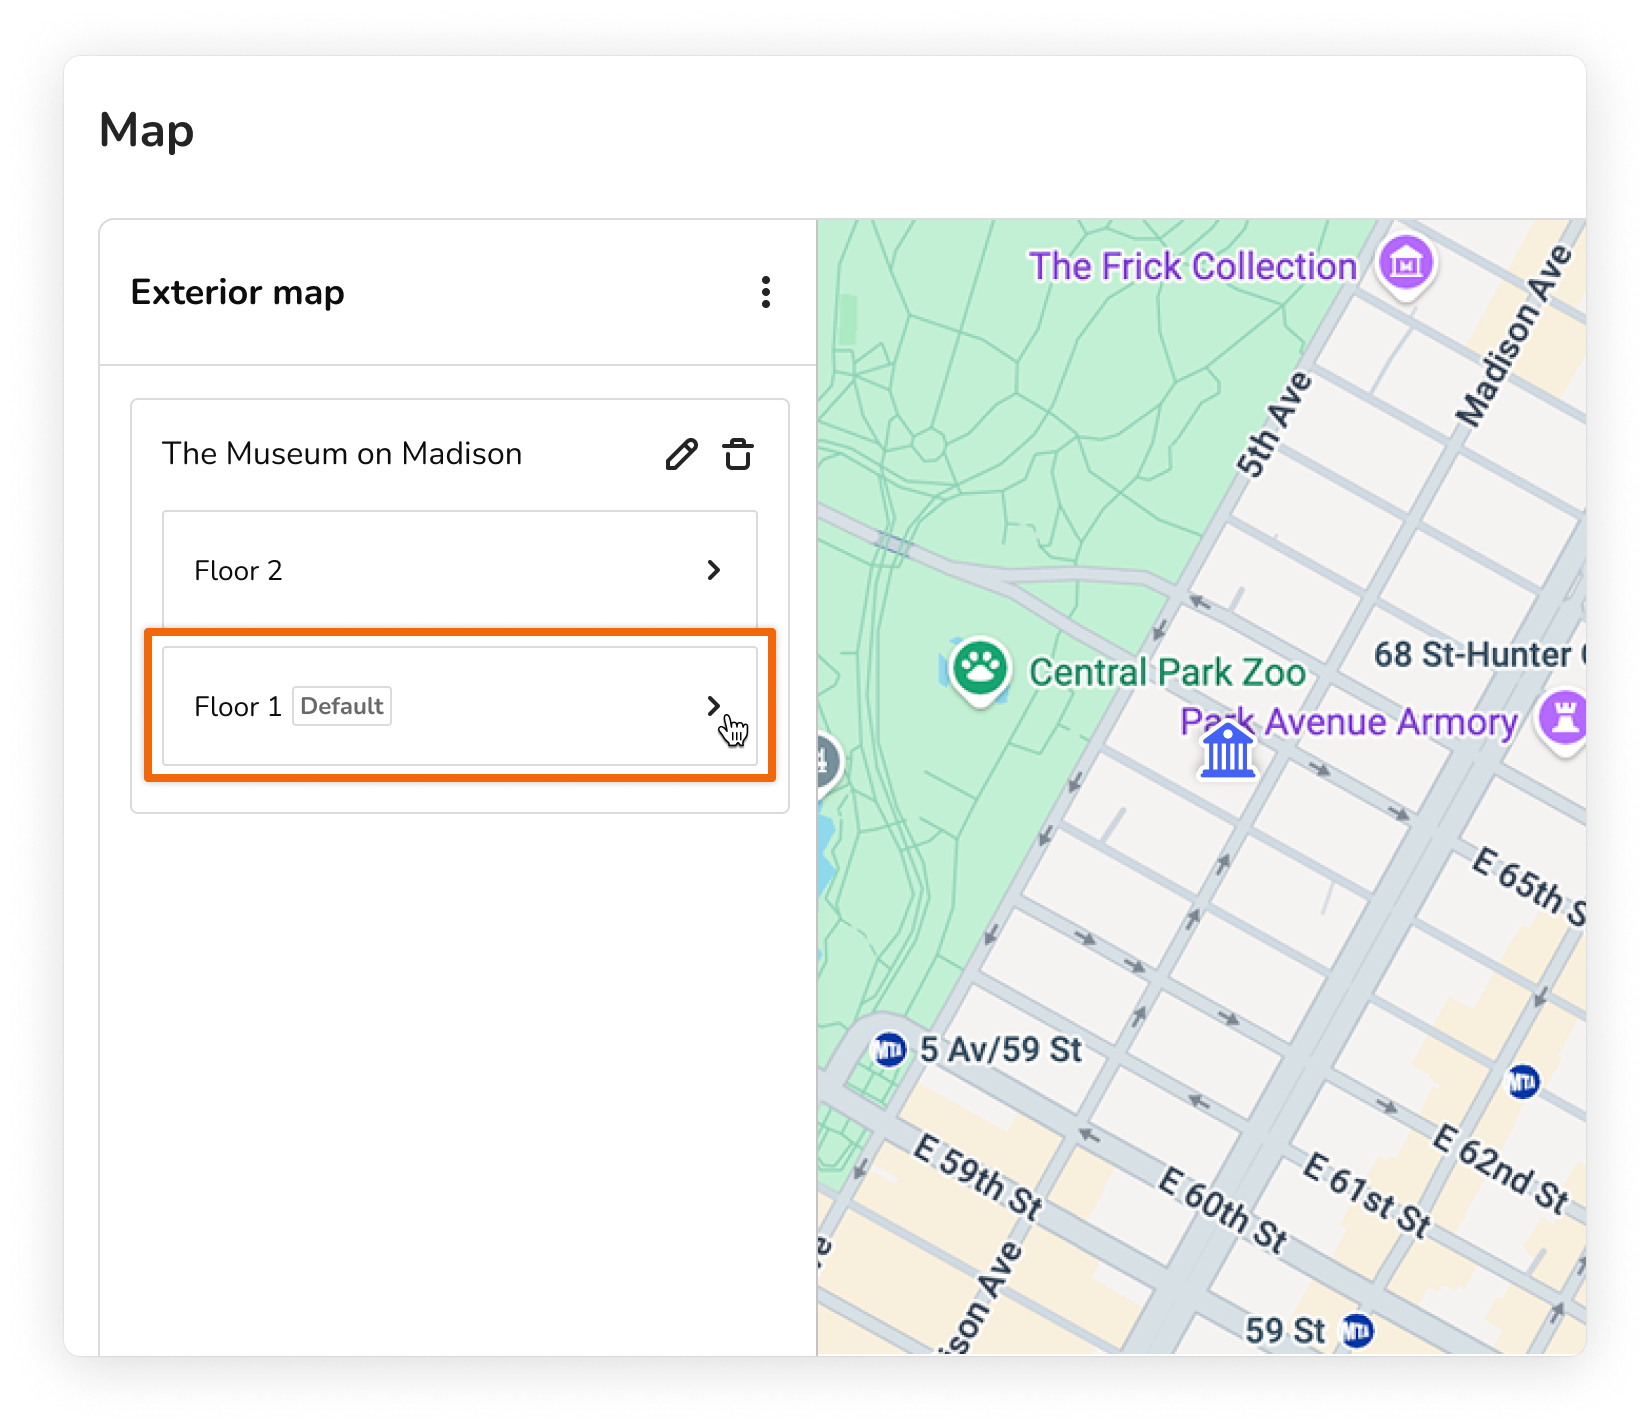
On the Map screen, click the floor where you want to add the pin (for example, Floor 1).
-
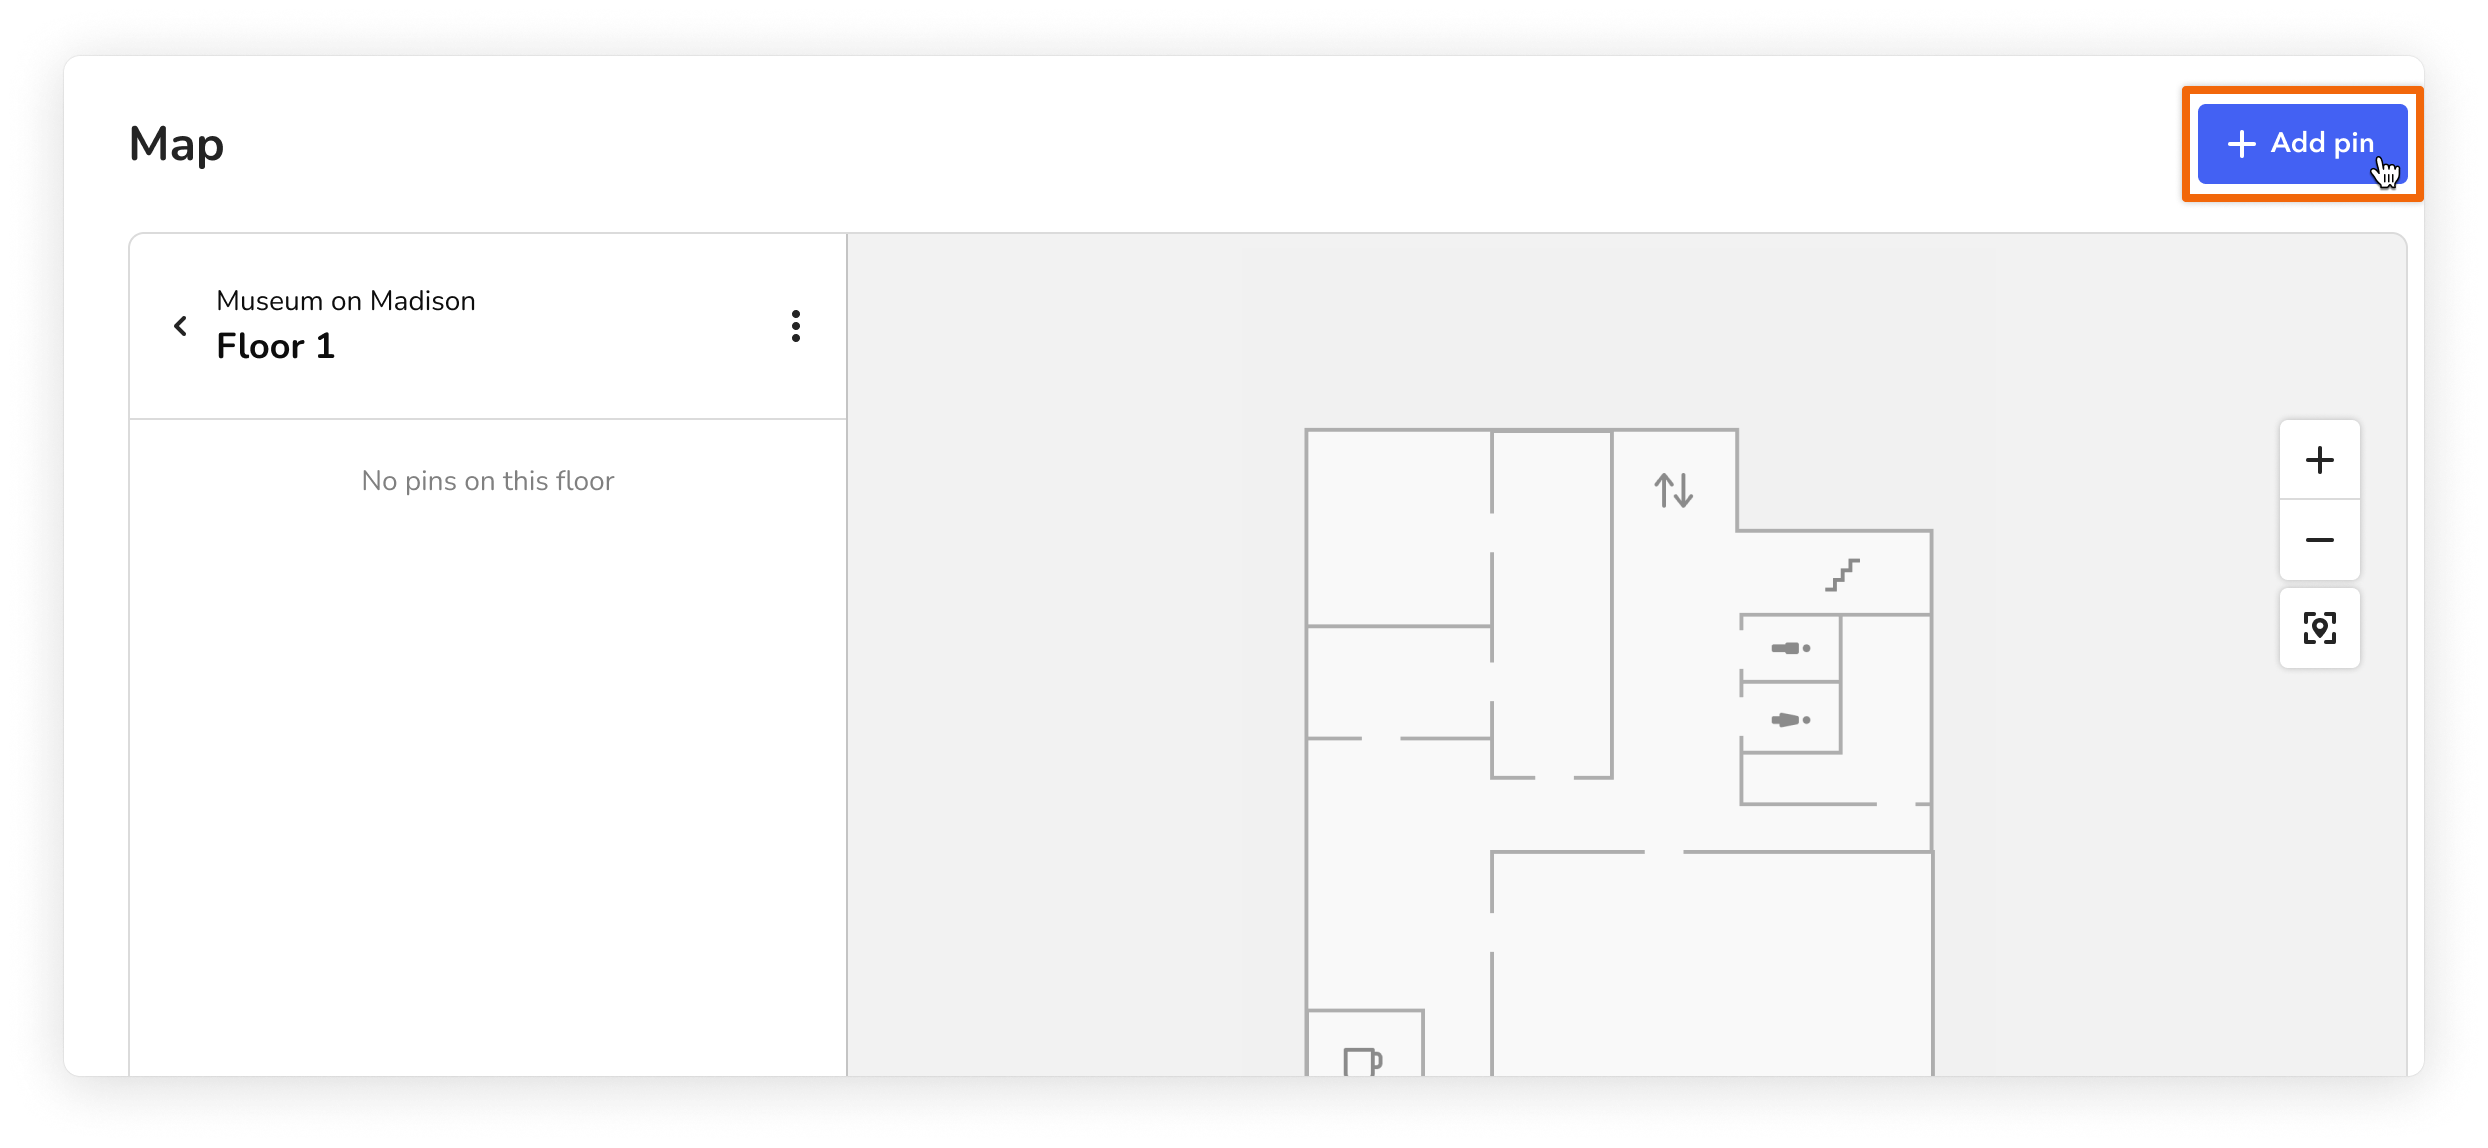
Click Add pin.
-
In the Pin form that appears, add a name for the pin to help visitors know where to go (for example, Gallery 3). It's helpful to match this name to signage or other wayfinding tools in your space.
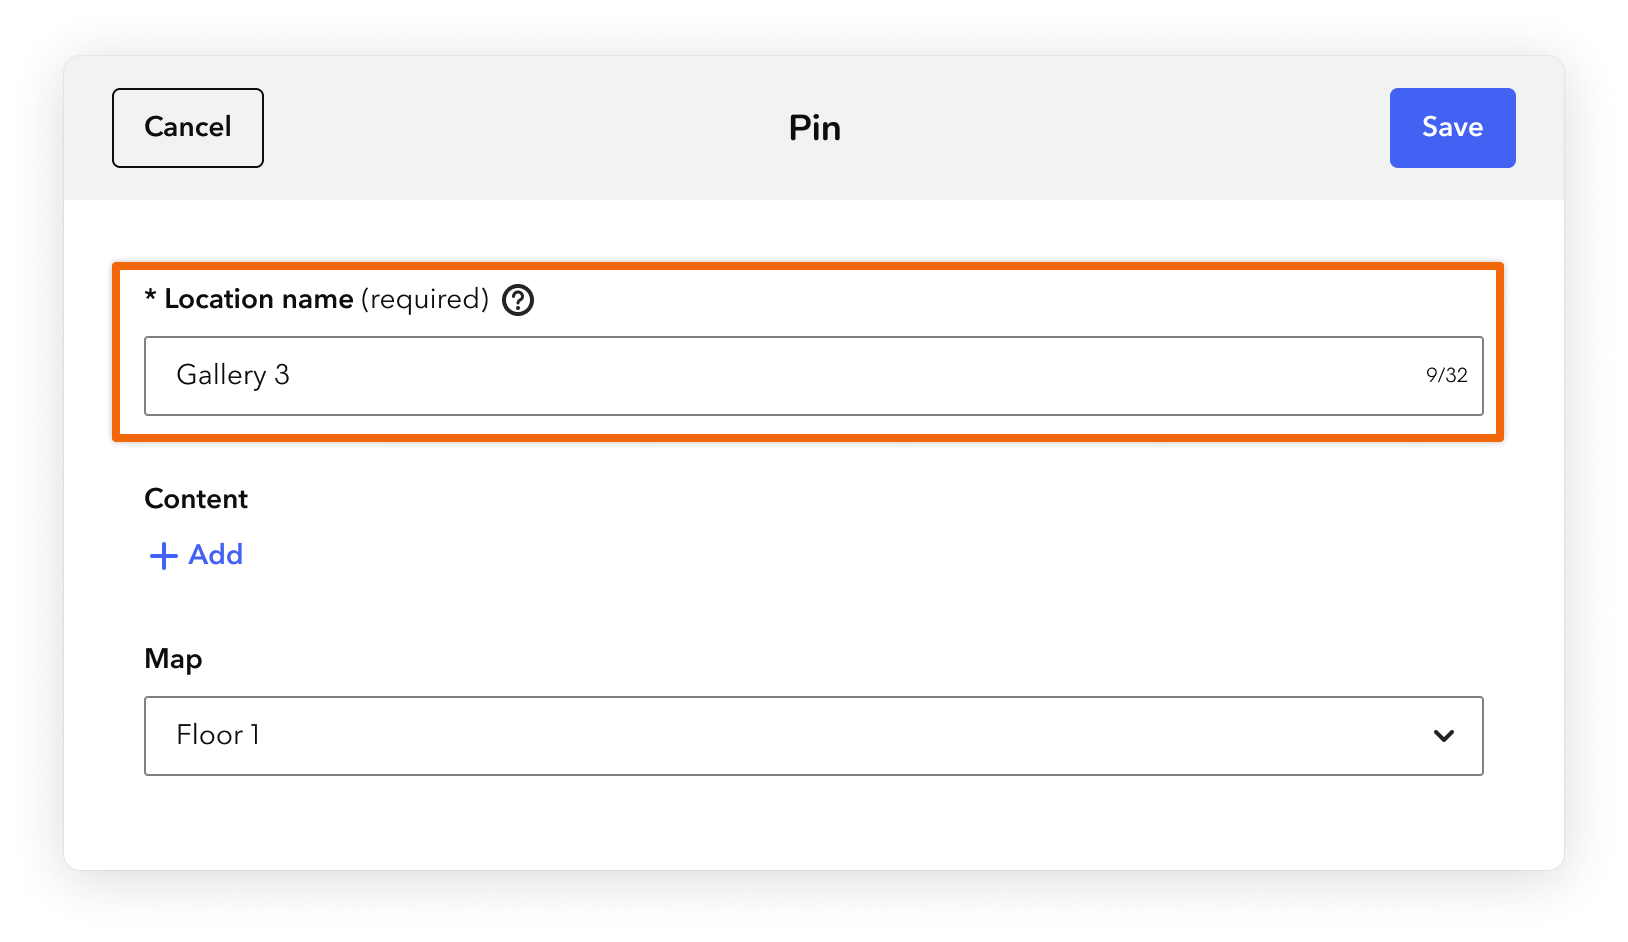
Tip: You can put the location name in square brackets to hide the name from the map (for example, [Cafe]). However, remember that including a location name can help visitors find the content. For visitors who use the list view of the map, the name is the only indication of the location.
-
Below Content, click Add. Then select your content and click Apply. For more, see the Add content to a pin section of this article.
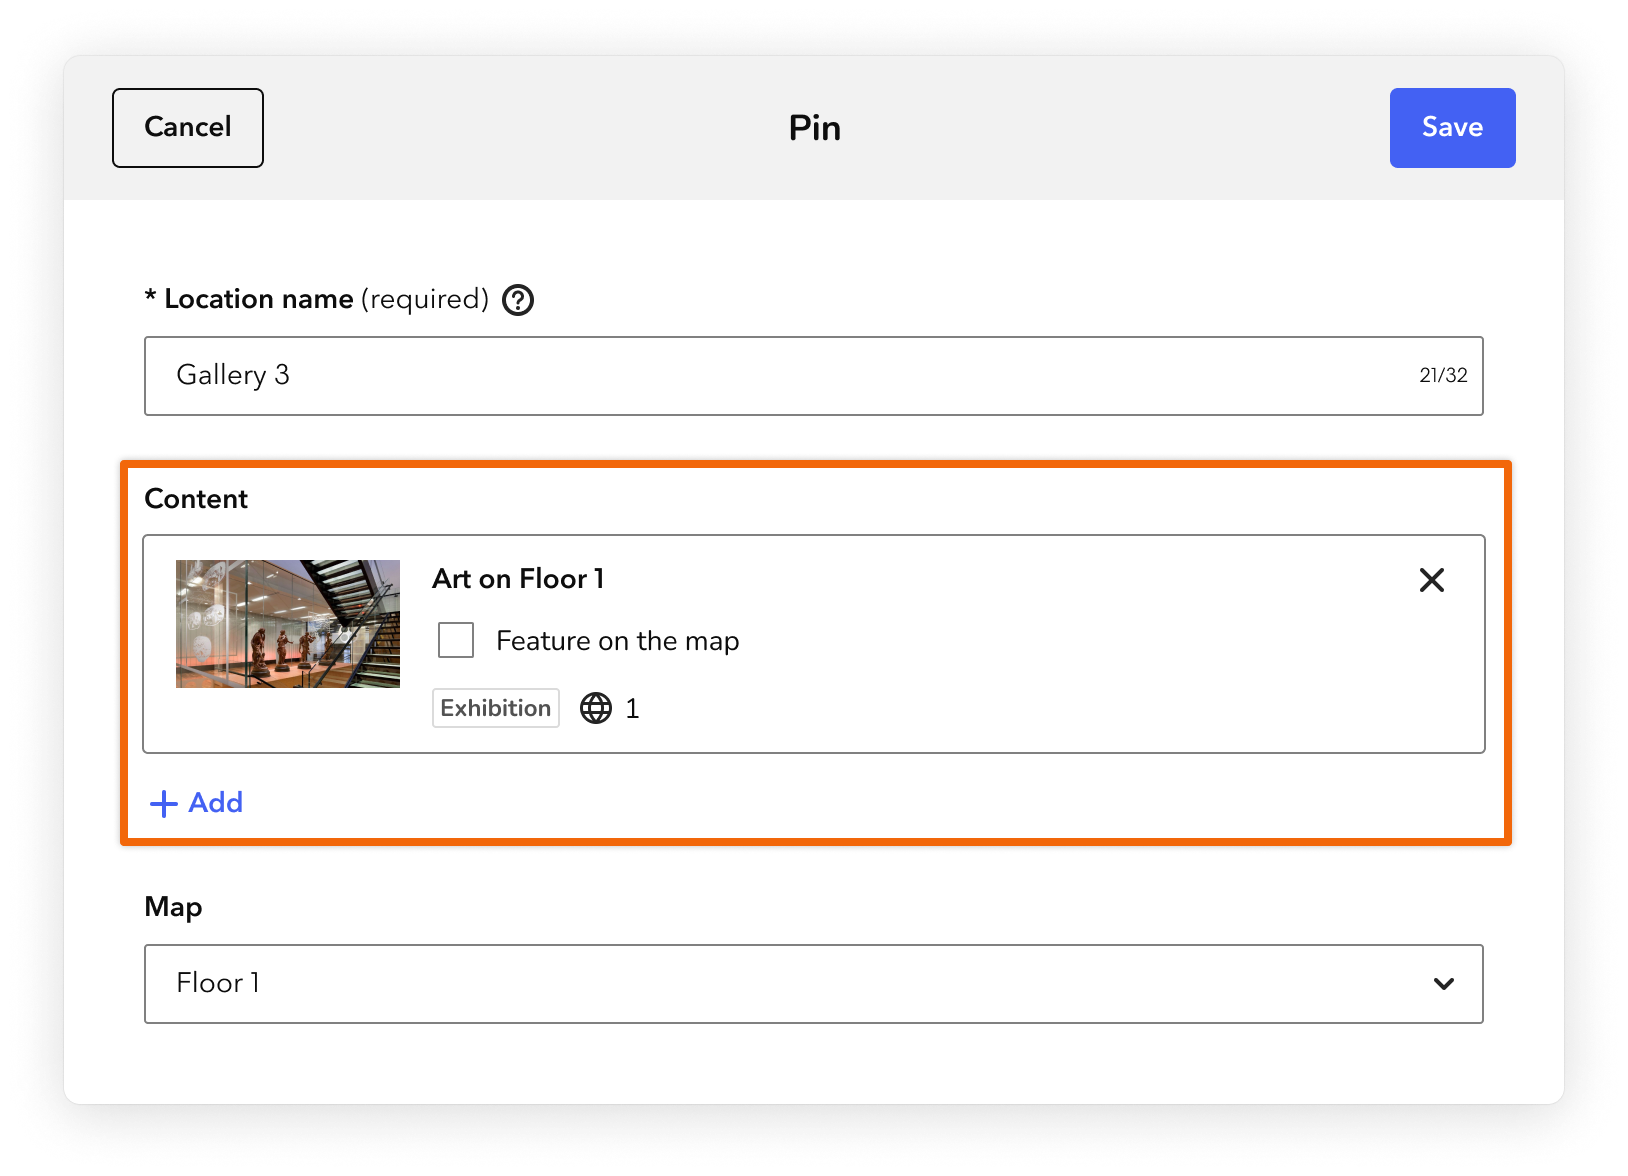
Tip: You can save pins without adding content, but pins only appear in your guide when they include published content.
-
Click Save.
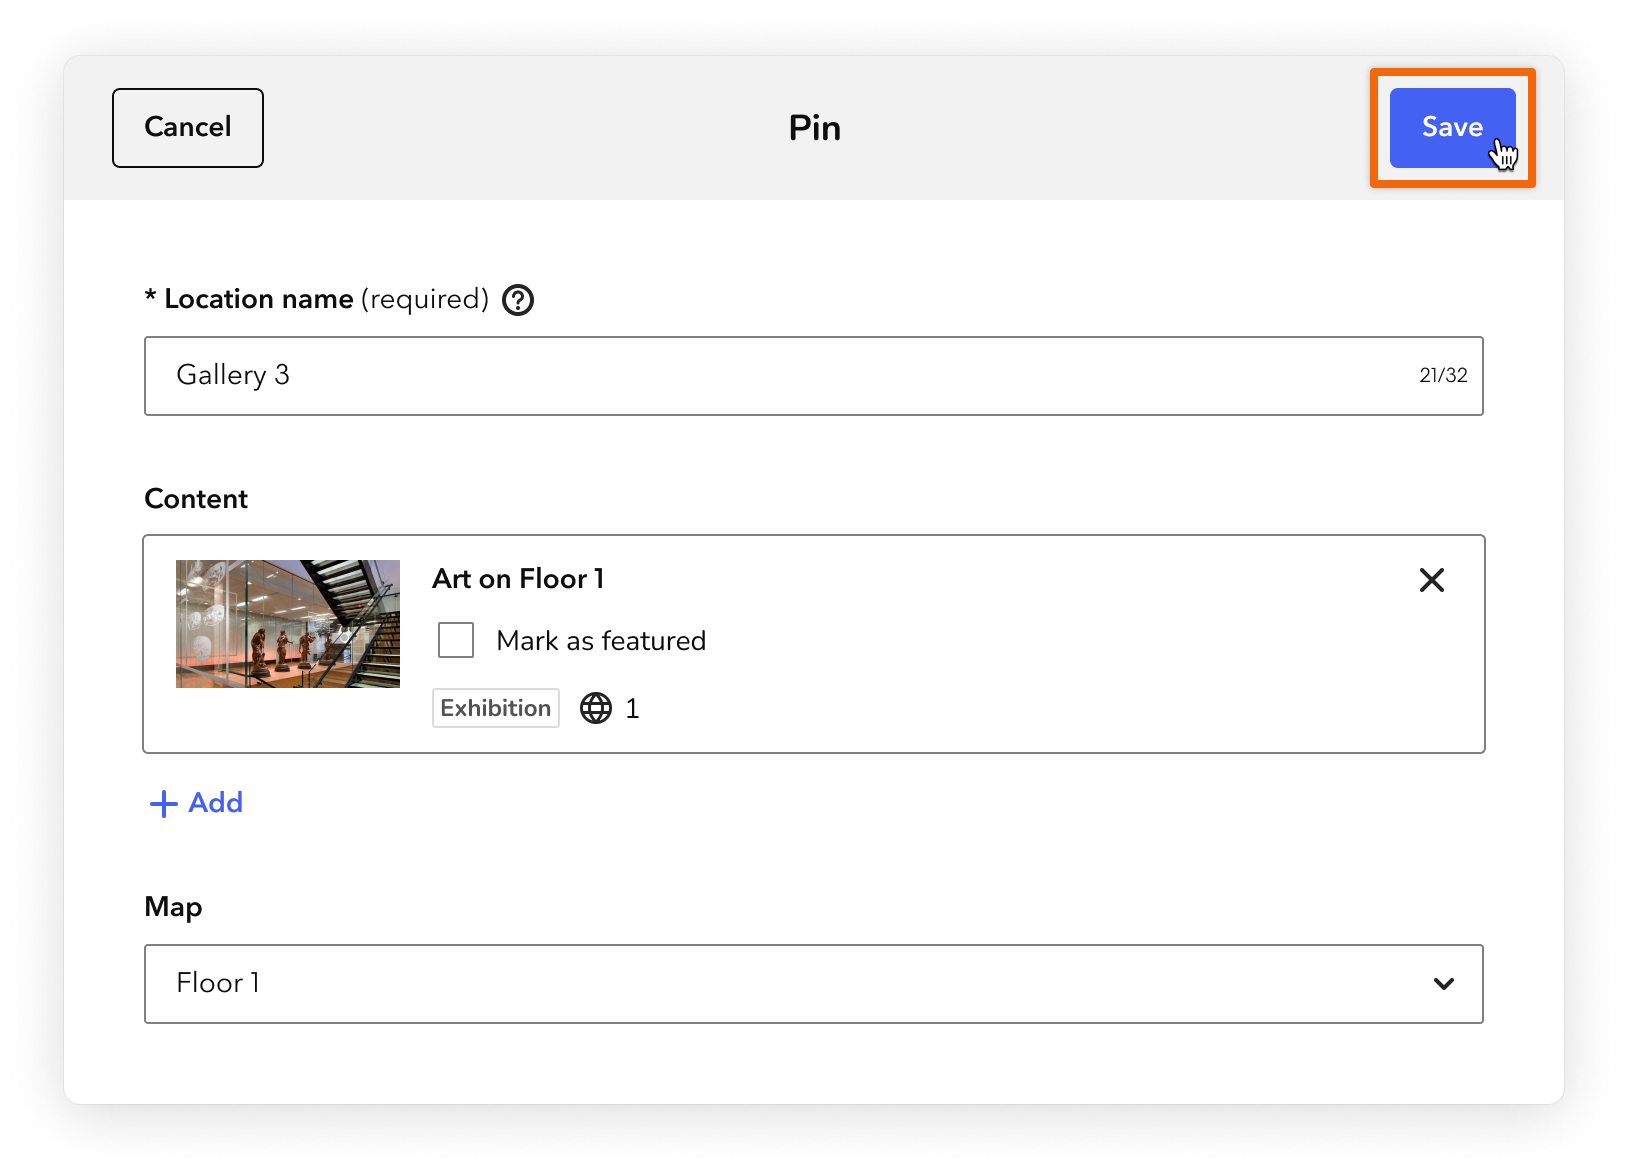
The form closes and the new pin appears in the center of your map. If the pin includes content, it appears in blue. If the pin doesn't include any content, it appears in gray.
-
Drag the pin to the correct location.
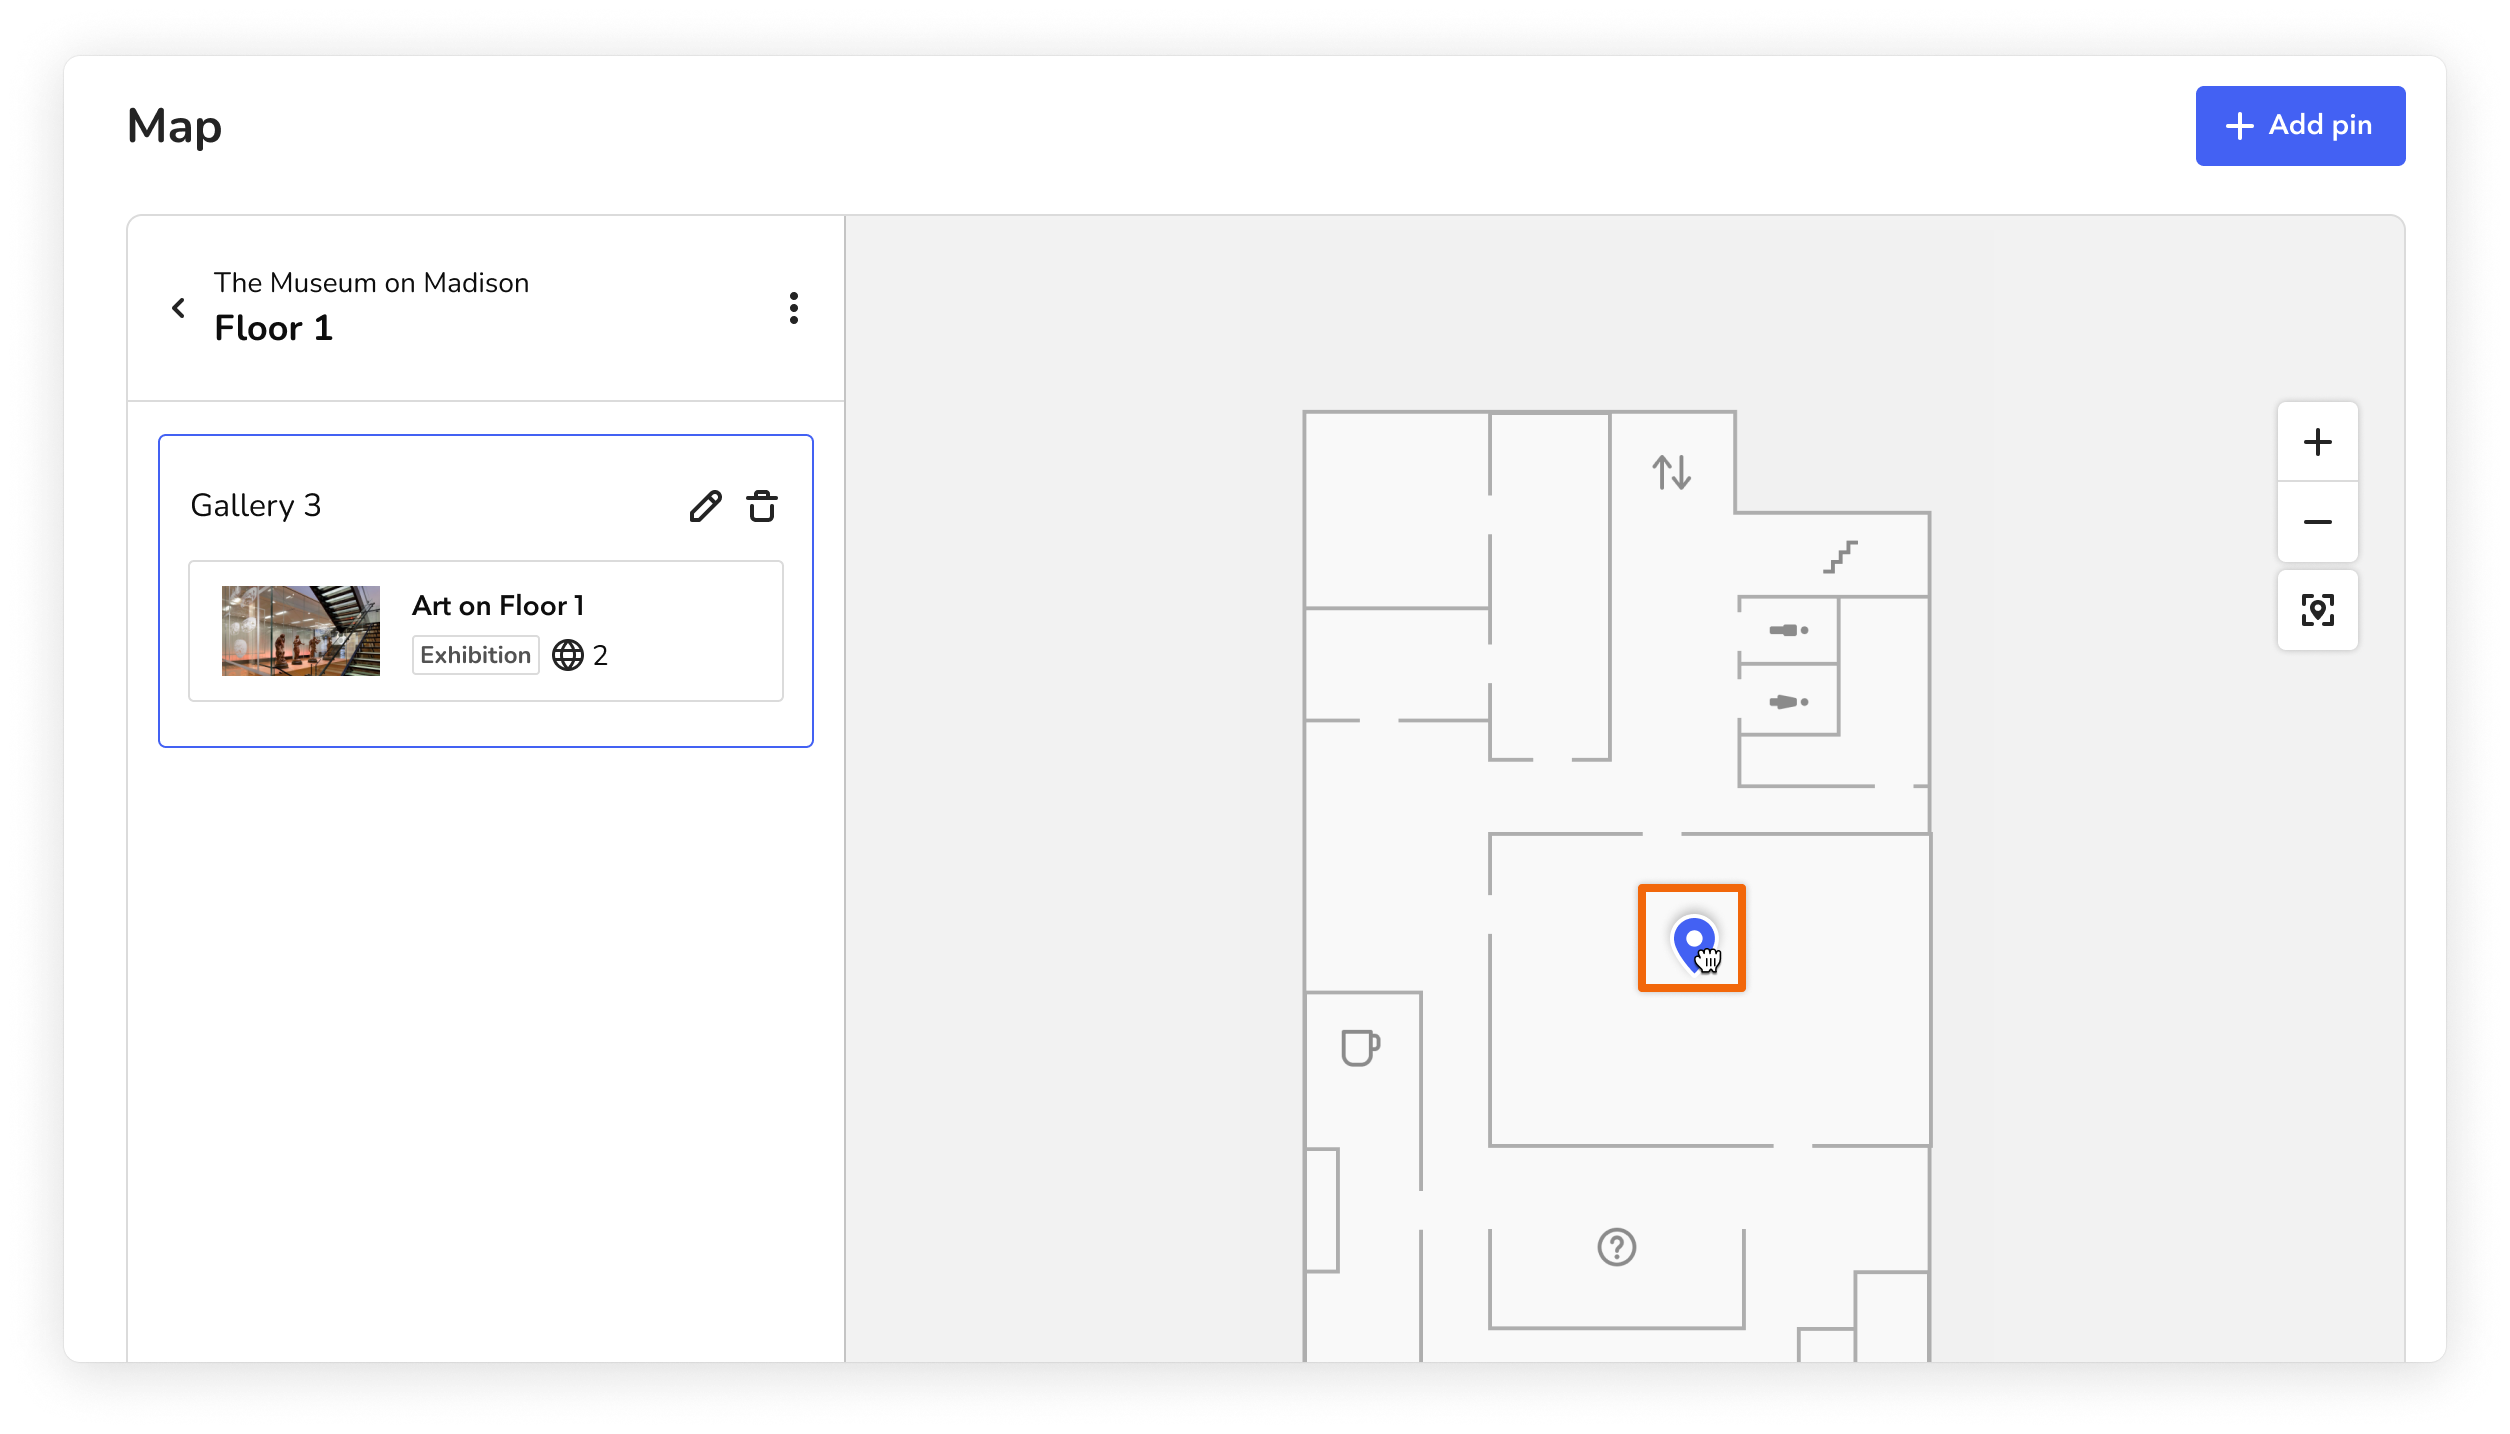
Add content to a pin
You can add content to a new pin or to an existing pin. The following things happen when you add content to a pin:
- In your guide, the Show on Map button appears on the content page so that visitors can find the object in your space. You can also choose to feature the content on your map. For more on the difference between these options, see Show on map vs. Feature on map.
- In the CMS, the map location appears at the bottom of the content form (for example, the Item form).
Tip: You can attach draft content to map pins to prepare for an upcoming change.
Visitors never see your draft content. If a map pin only contains draft content, the entire pin is hidden from visitors.
Draft content does appear alongside published content when you preview your guide in your browser or in the app's internal mode.
Manage map pins
You can update your pins to make sure they accurately reflect your space.
Steps
-
On the Map screen, click the edit icon next to the name of the pin you want to update.
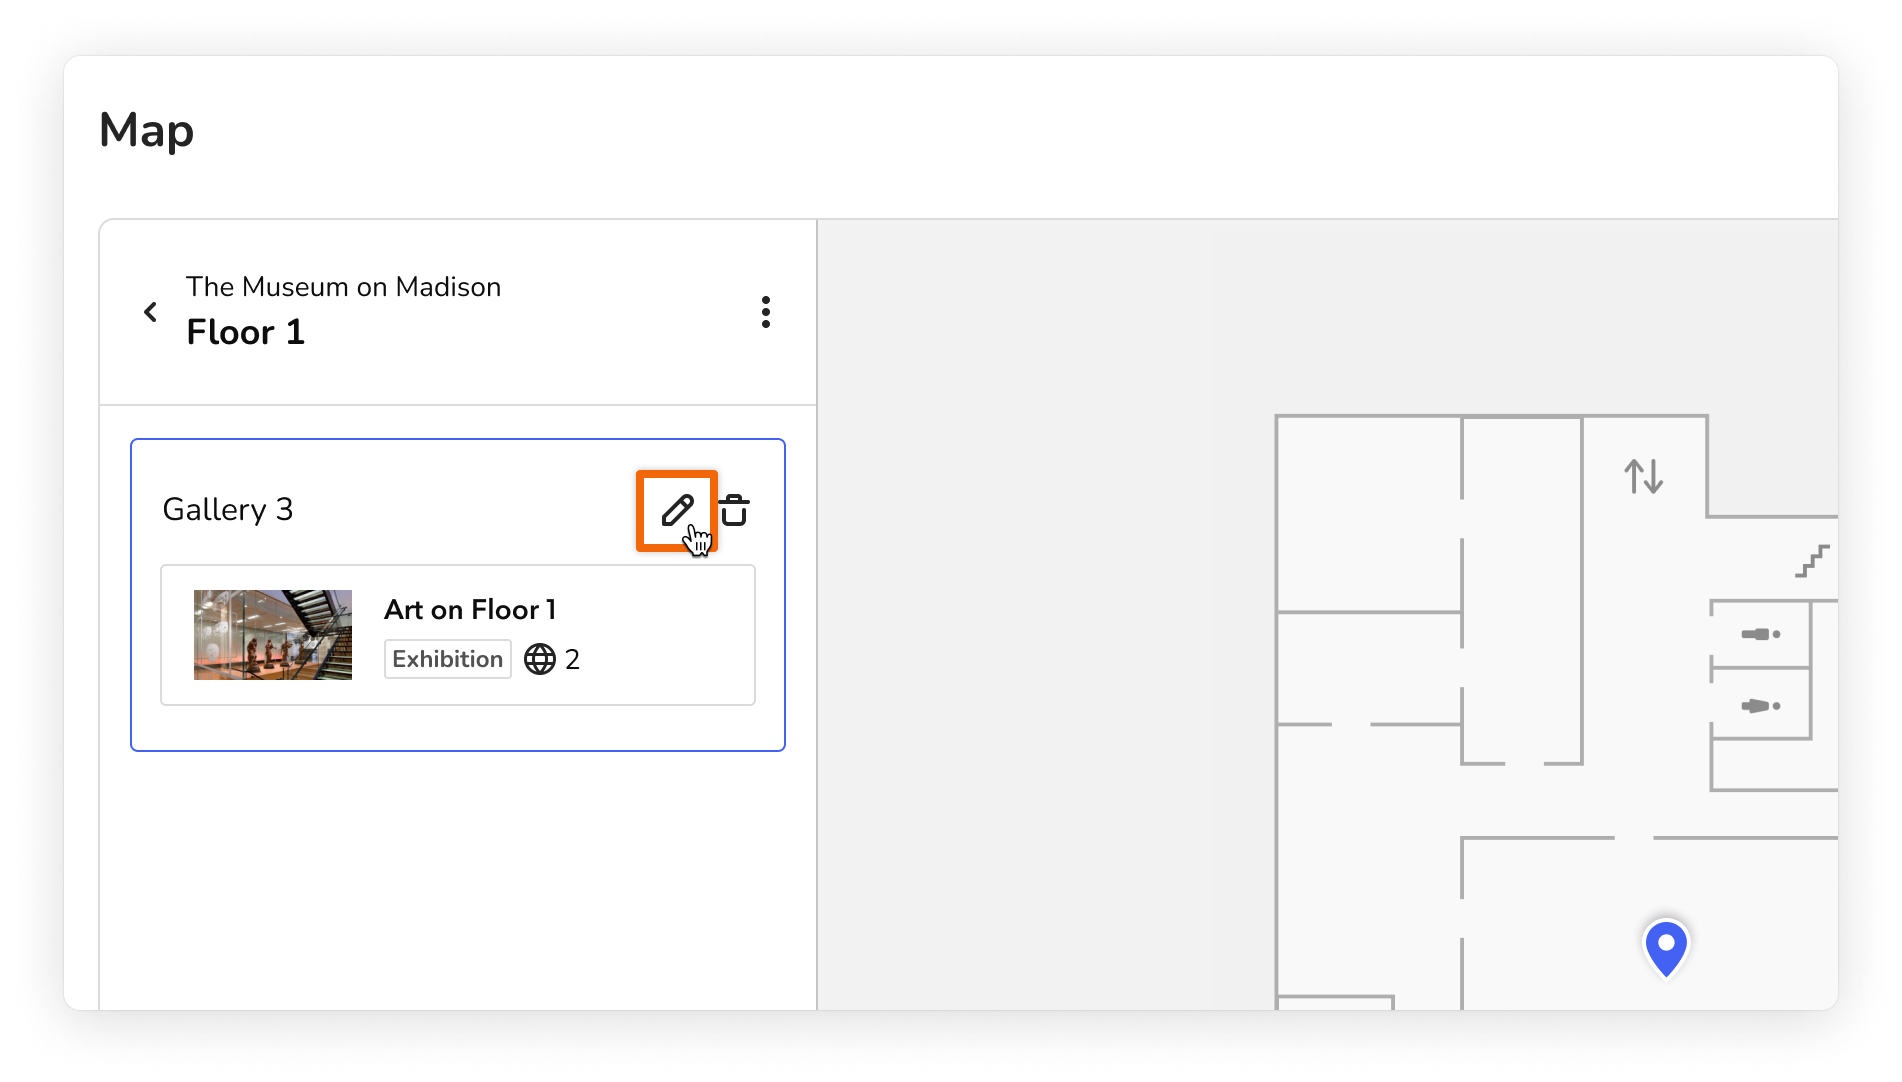
- In the Pin form that appears, make your updates. You can take the following actions:
- Update the name of the pin.
- Change the content that is attached to the pin.
-
Move the pin to a different map or floor plan.
When you move a pin, it appears in the center of the new map or floor plan. You can drag it to the correct location (or update the address or coordinates, if you move the pin to the exterior map). Remember to update the pin name so that it matches the new location.
- Click Save.
Tip: Within each map and floor plan, pins are organized alphabetically by location name.
Pins on the exterior map
You can add pins to your exterior map to help visitors find content outside of your building.
Steps
-
At the top of the Map screen, click Add pin.
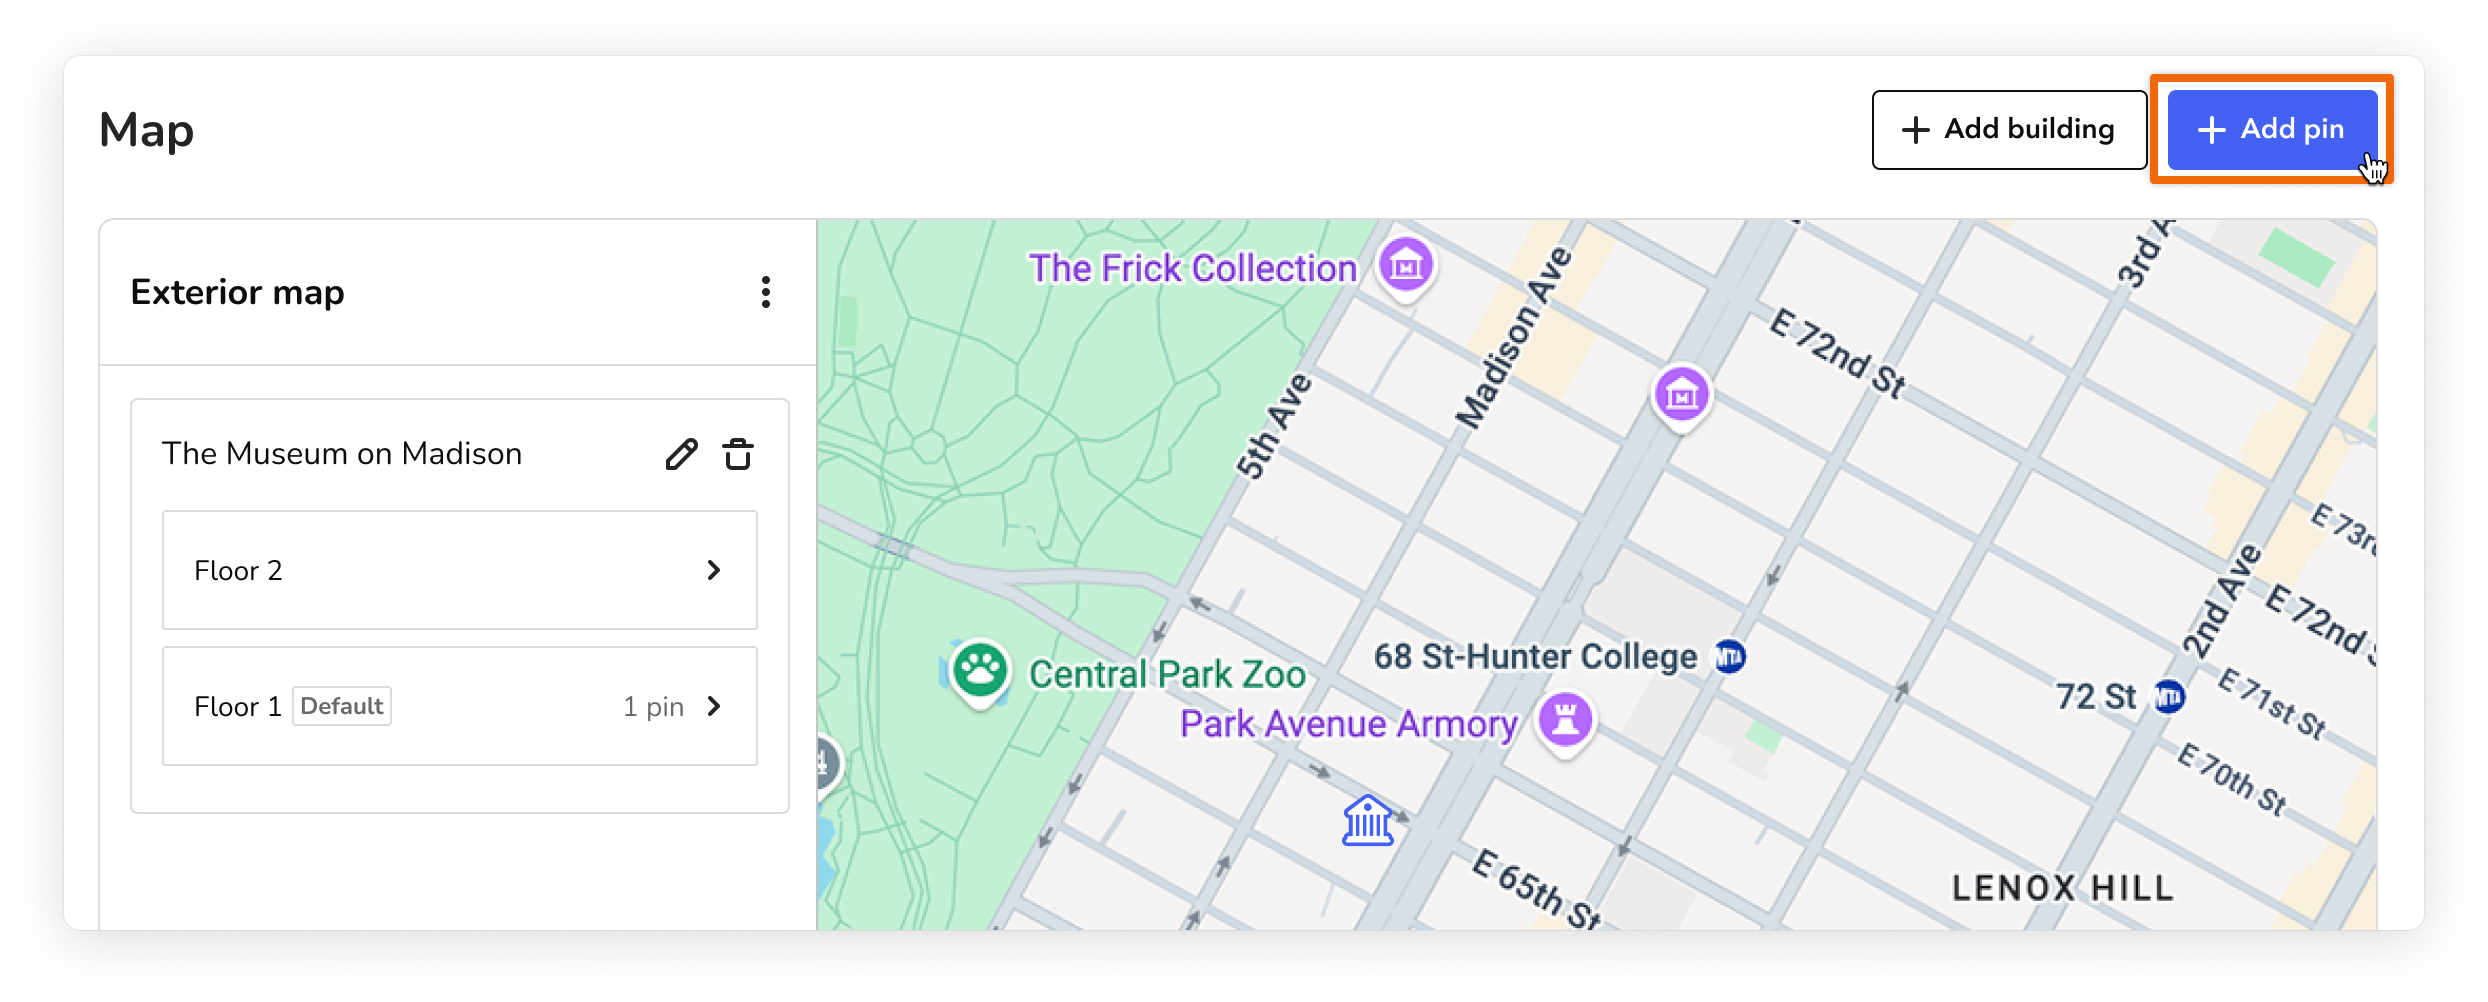
-
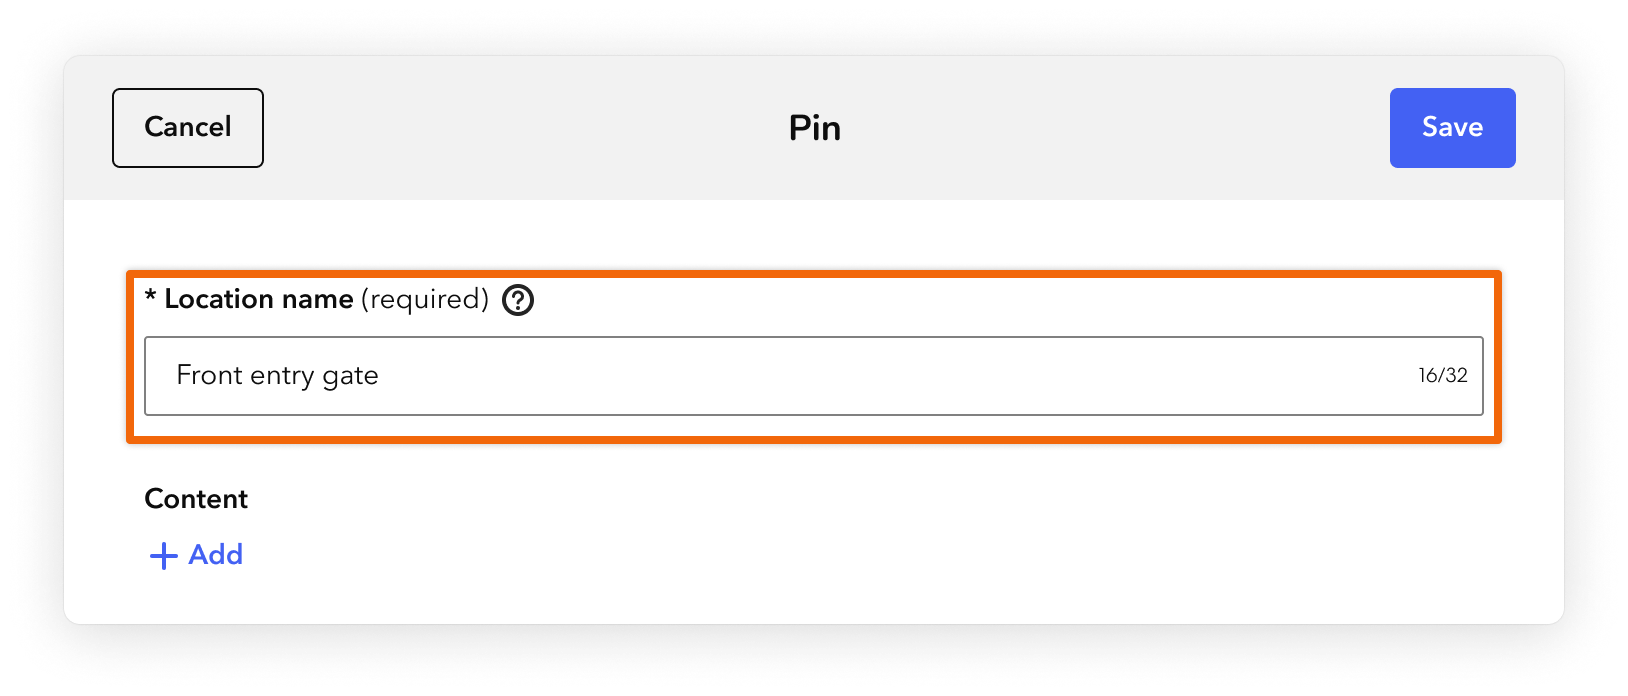
In the Pin form that appears, add a name for the pin to help visitors know where to go (for example, Front entry gate). If the pin represents an off-site building or other space, use its street address as the pin name.
-
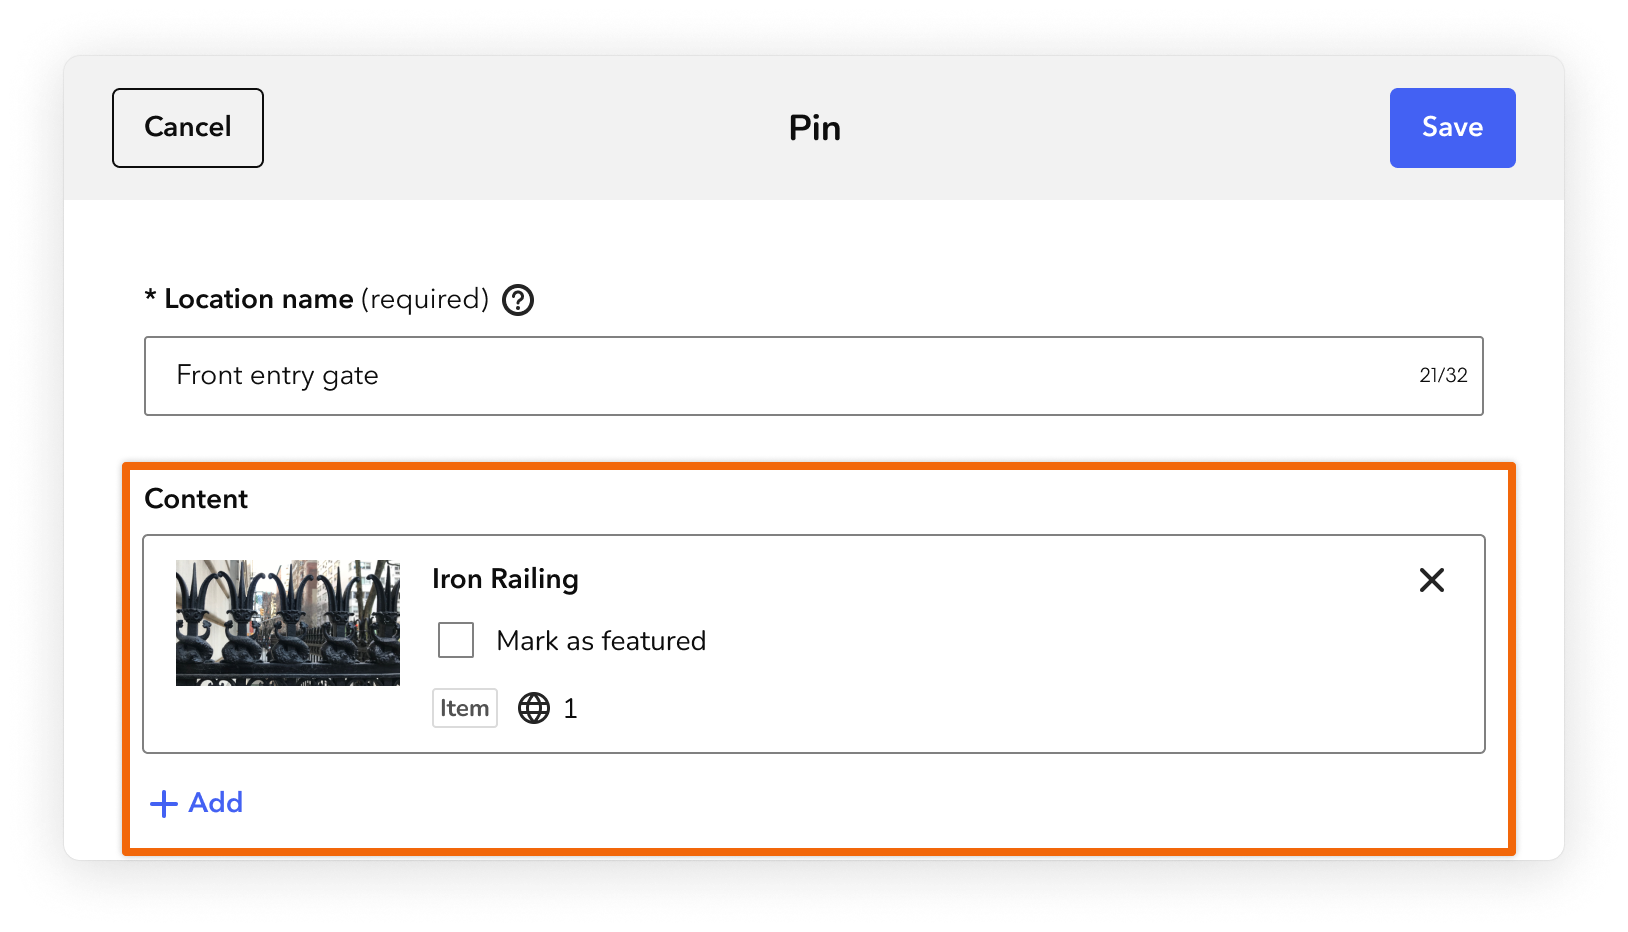
Below Content, click Add. Then select your content and click Apply. For more, see the Add content to a pin section of this article.
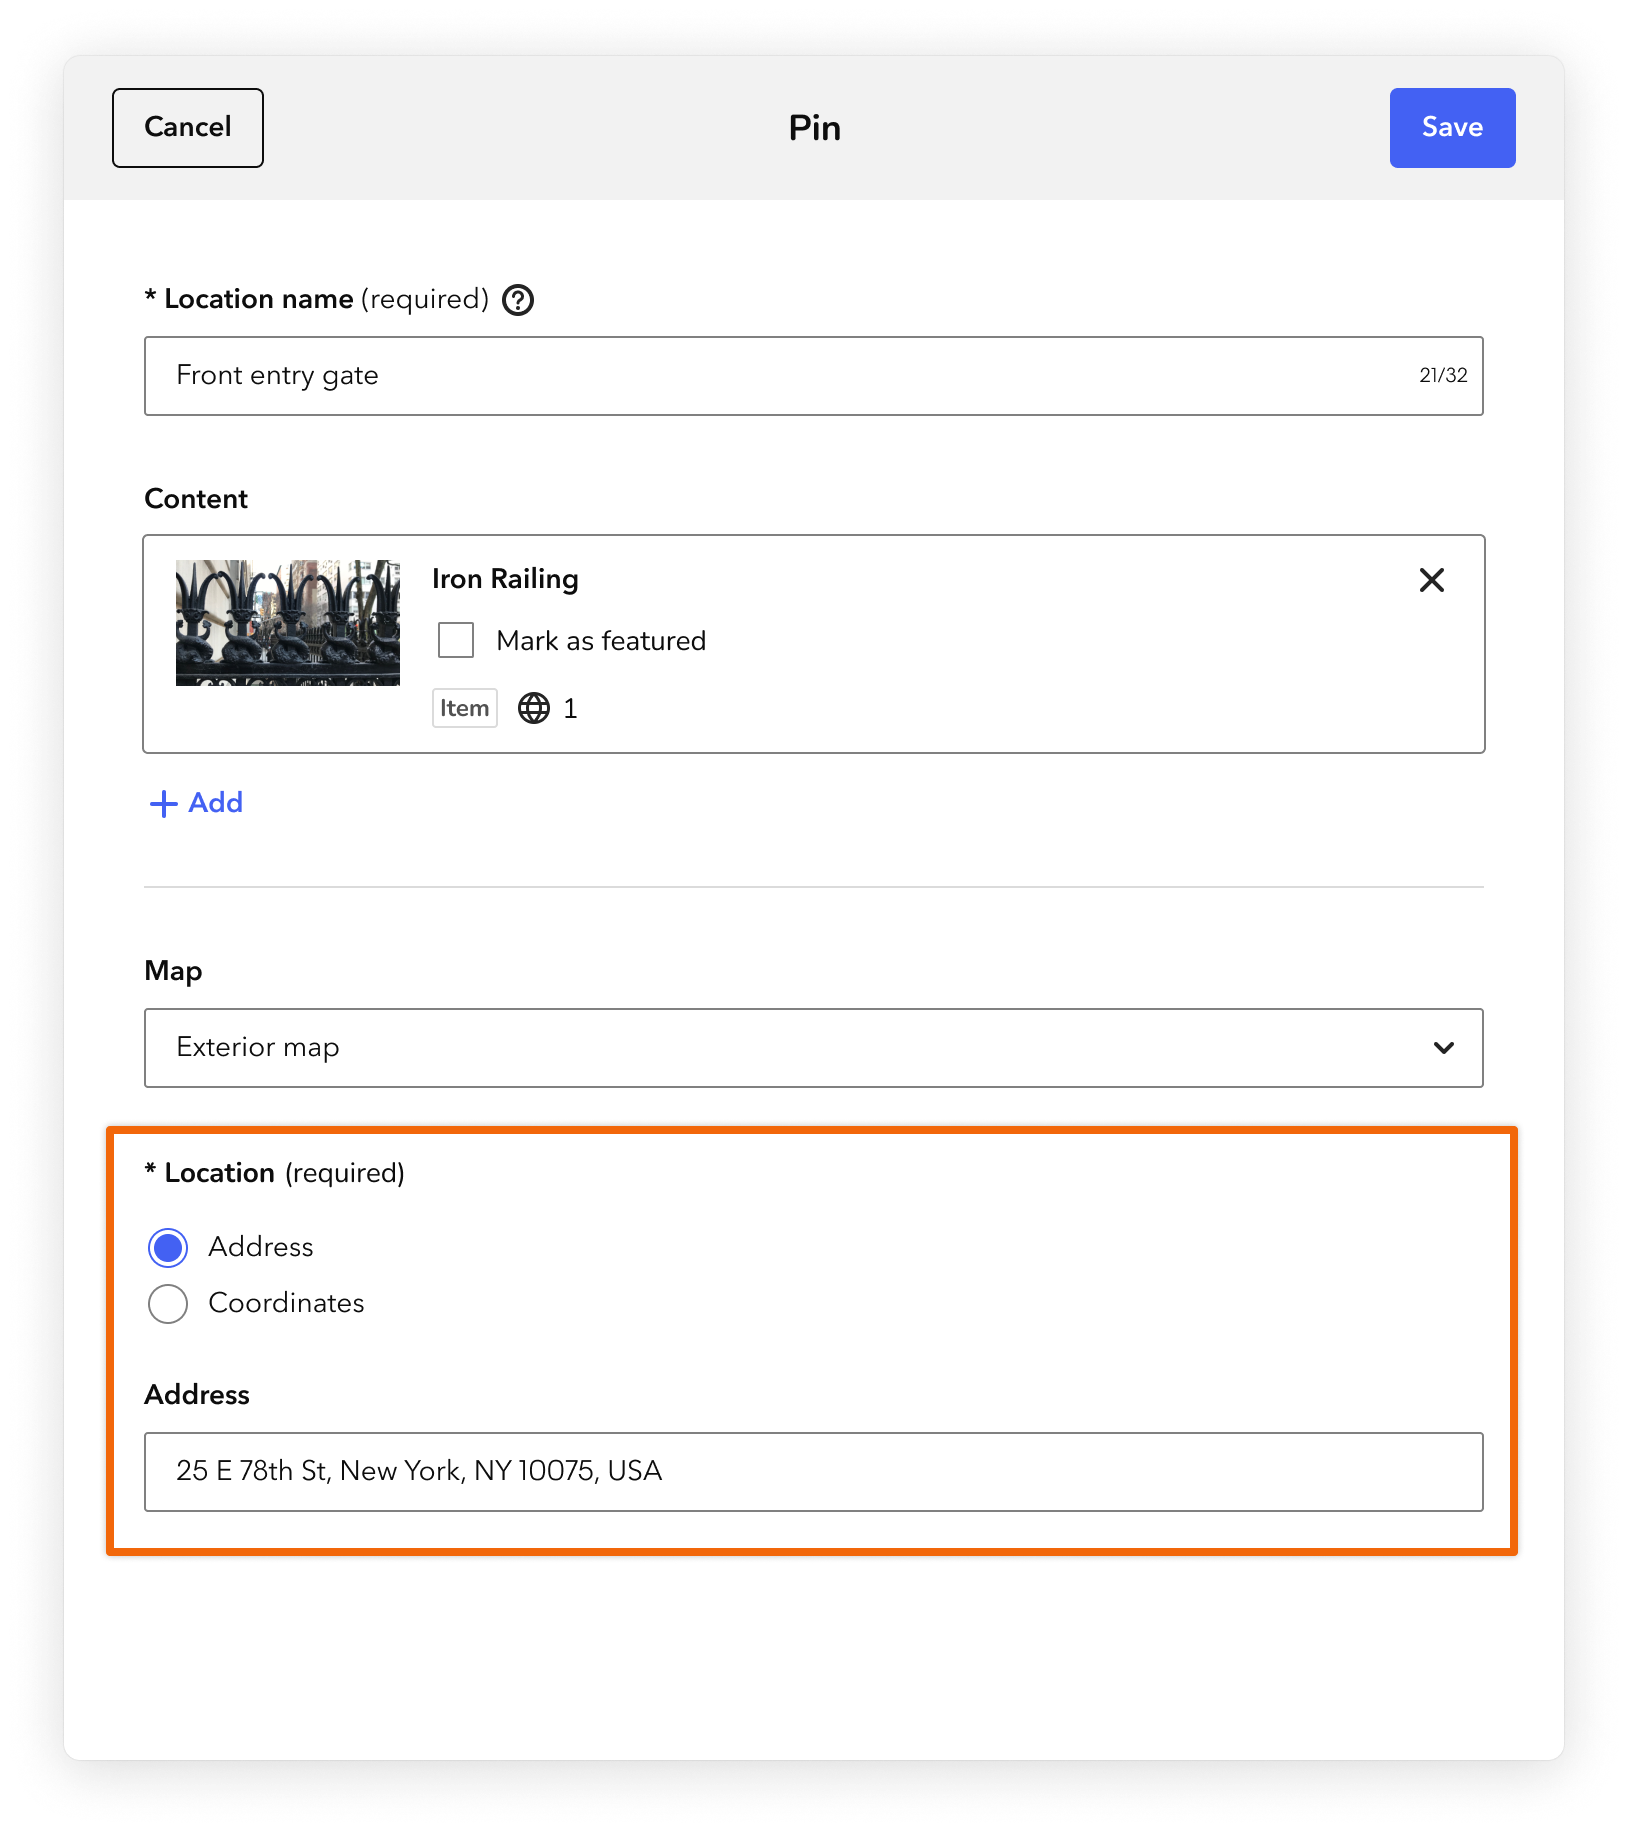
- Set the exact location of the pin using a street address or coordinates.
- If you are using a street address, start typing the address and select it from the list that appears.
-
If you are using coordinates, you can copy the coordinates from Google Maps and paste them into the latitude and longitude fields. Coordinates are in decimal degrees format (for example, 40.68941207542726, -74.04445748733185). Latitude values range from -90 to 90. Longitude values range from -180 to 180.
-
Click Save.
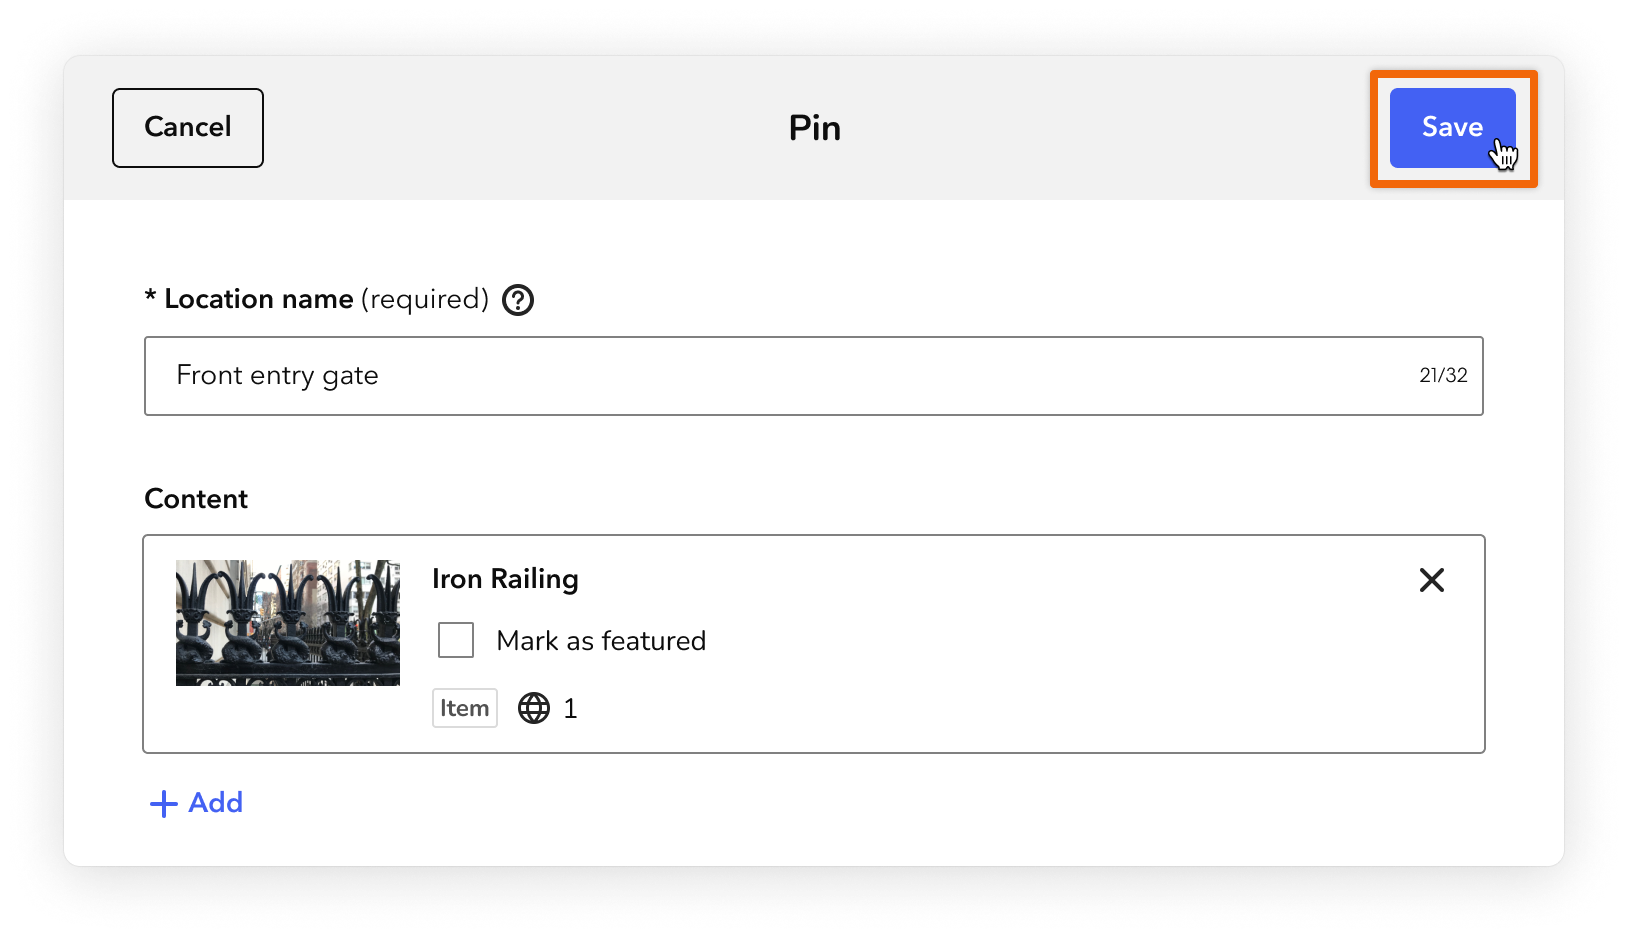
The form closes and the new pin appears in the center of your map. If the pin includes content, it appears in blue. If the pin doesn't include any content, it appears in gray.
You can drag the pin to move it on your map. Dragging the pin changes its coordinates.
